Tracing available path
One of the options in the Conduit Network Schema is tracing available (free) parh between manholes.
Ducts can be:
- Occupied
(occupied with live cables (and/or ducts)) - Occupied
(occupied to a certain degree with live and/or abandoned cables) - Damaged
(unusable for any reason) - Free (vacant)
(completely free and passable)
| Important note: |
You should distinguish:
as they are differently recorded in TeleCAD-GIS (see Marking damaged ducts and ducts occupied with abandoned cable). |
When searching for the available path between the manholes, the program only observes the free (unoccupied) ducts.
When searching for the available route, at each duct bank segment the
program
takes the first duct with the smallest
diameter which provides the passage for the cable (or duct) diameter
assigned in Trace tab.
Also, bear in mind that the search includes only
ducts that are visible in the schema in that given moment.
This manes that: if you’ve turned off some ducts using the Filter
tab, they won’t be included in the trace.
Find the available route using the window Docker - Trace tab (Figure 1).
Tab: Trace
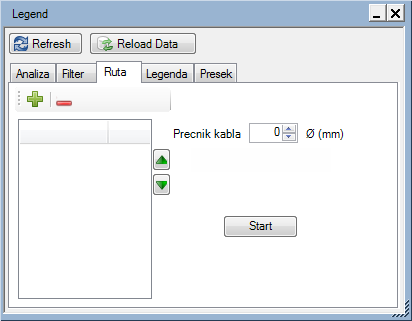
Figure 1
The tab contains the following items:
Buttons:
 - Adds points between
which you trace available path.
- Adds points between
which you trace available path.
Select a manhole on the schema and than click the
icon to add the manhole to the list.
 - Deleting defined
points
- Deleting defined
points
Remove the points by marking them in the list of selected points (below the icon) and then click on the icon.
List of points through which the cable
(or duct) for which you seek free route should pass.
You can define multiple points. The program will trace the path in the
order specified in the list.
This order can be changed using  and
and  buttons.
Buttons:
- - Moves
the list item upwards
- - Moves
the list item downwards
Data entry fields:
- Cable diameter - The diameter of the cable (or duct) you’d like to pull between selected points
Button:
 - By clicking
on this button, the program traces available path through the assigned
points (if the path exists).
- By clicking
on this button, the program traces available path through the assigned
points (if the path exists).
Procedure
When you are in Conduit
Network Schema,
click on icon Display Docker ( )
icon to open Docker, and then open
the Trace tab (Figure 2).
)
icon to open Docker, and then open
the Trace tab (Figure 2).
Figure 2
Click on the manhole from which you trace available route and than click
on the icon to add
it to the search list (Figure 3).
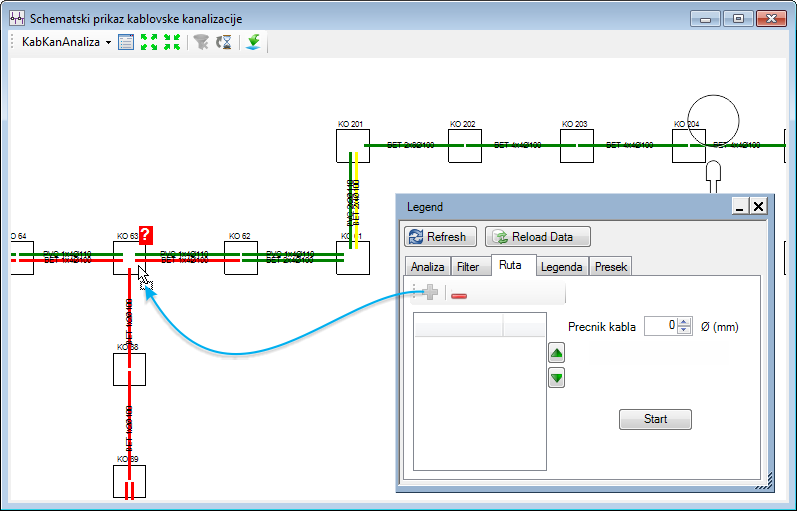
Figure 3
Repeat the process until you define the manhole through which you want to pull the cable/duct (at least two manholes are required) (Figure 4).
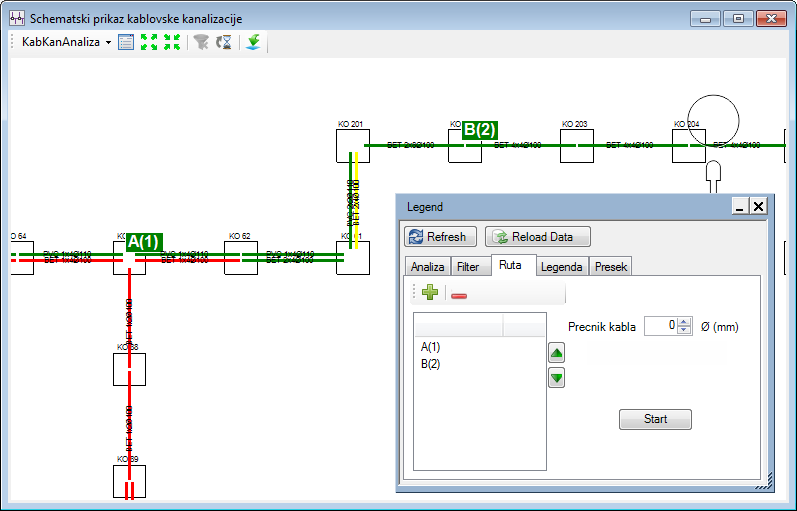
Figure 4
Define the diameter of the cable
(or duct) which you want to pull through
(if you leave "Cable diameter Ø = 0", the program will simply
take the free ducts of smallest available diameter).
By clicking on button ,
the program traces available path (if it exists) and marks it in the schematic
display.
The path is marked with two parallel pink lines which encompass the ducts (Figure
5).
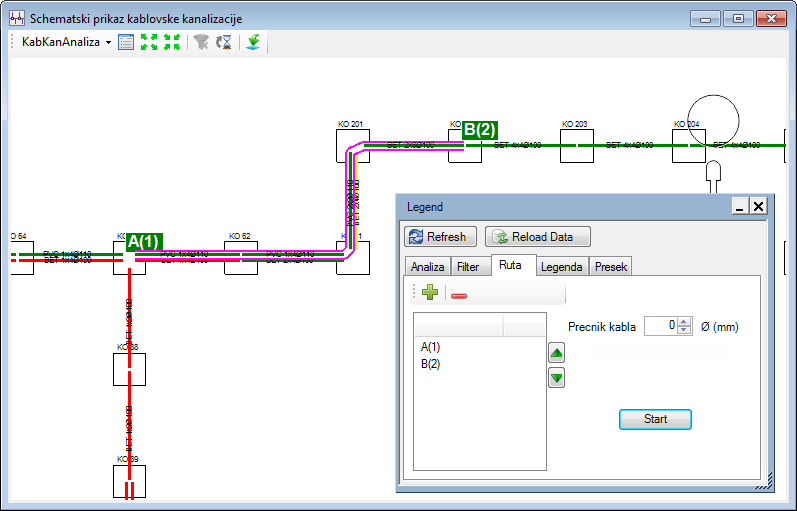
Figure 5
If there isn’t a path that meets
the set criteria, the program displays a message:
Route not found! (The route is not found!) (Figure 6):
Figure 6